If you want to be successful on YouTube, you need to stand out from the crowd.
Unlike a website, there are very few customization options for your YouTube page.
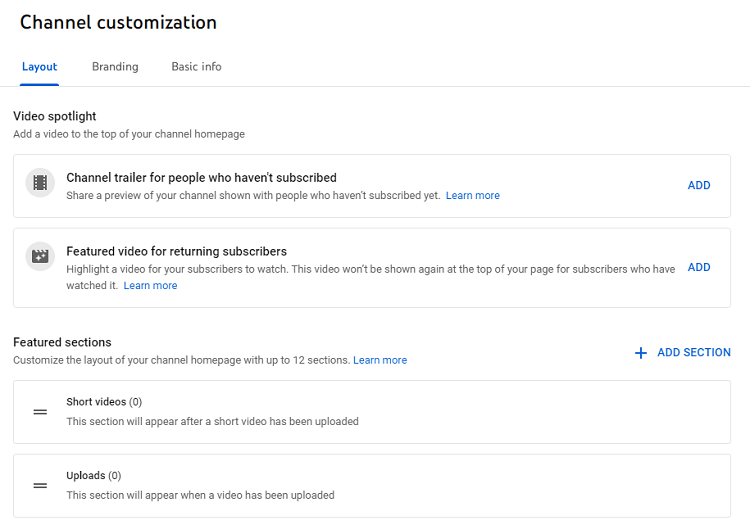
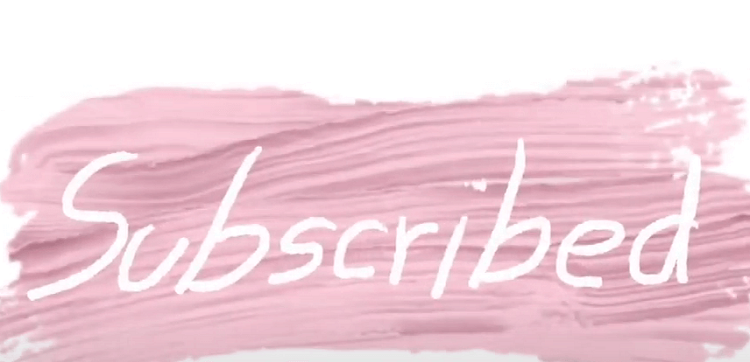
Those who want to make their YouTube page more personalized can choose a number of different options.
Chances are, you can also use the same steps to get different colors too to suit your brand’s theme.
This is perfect for any girly channel about fashion, lifestyle, cosplay, or interior style.
The same steps can be followed to add any color.
Step 1: Google Images

Step 2: Customize the Channel
Log into your YouTube channel .
Then, head to the ‘Customize Channel’ button or the YouTube Creator Studio.
Step 3: Select the Branding Tab

At the top of the page, there will be three tabs.
One of which is named ‘Branding’.
Select this option.
Step 4: Add a Watermark

You’ll then have the option to add a watermark.
This may be something to consider if you’re looking to create content for a product or service-based business.
That way, your content cannot be stolen.
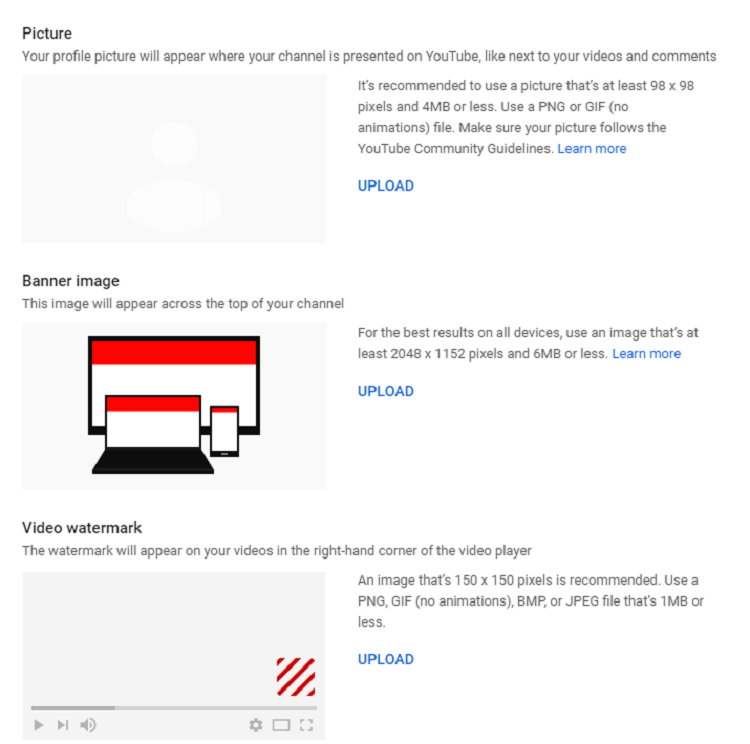
The recommended size is 150×150 pixels.
You can edit the size of your image online or in photo editing software.
YouTube accepts all major image formats (JPEG, BMP, PNG) as well as GIFs if you want to make your button animated.
Step 6: Adjust Watermark Settings
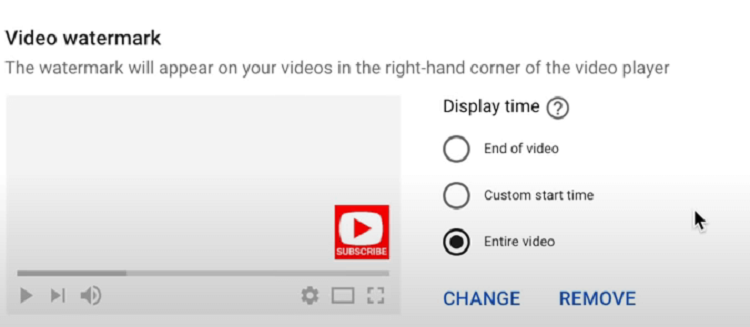
You can then select when you want your new button to be visible on your videos, and for how long.
Alternatively, you can set it to appear at the very start, or end of your videos.
You can also choose how long to have the button visible so that it doesn’t take away from your video or obstruct certain details.
Once you’ve adjusted the settings of your new button, click Save.
For some reason, the new watermark may take a few days to appear.
So make sure to test your new button’s visibility a few days later by checking if it appears on past videos, as well as any new uploads.

With TikTok, Snapchat , and Instagram stepping into the video content realm, YouTube has now added its own vertical video feature: YouTube Shorts.
Like videos viewed on other platforms, YouTube Shorts are vertical videos that are much shorter than your standard vlog.
Creators can now create 0-60 second snippets to entice new viewers to their channel.
These smaller videos can be uploaded to your channel video the YouTube Shorts app, or by tagging ‘#shorts’ onto your standard upload.
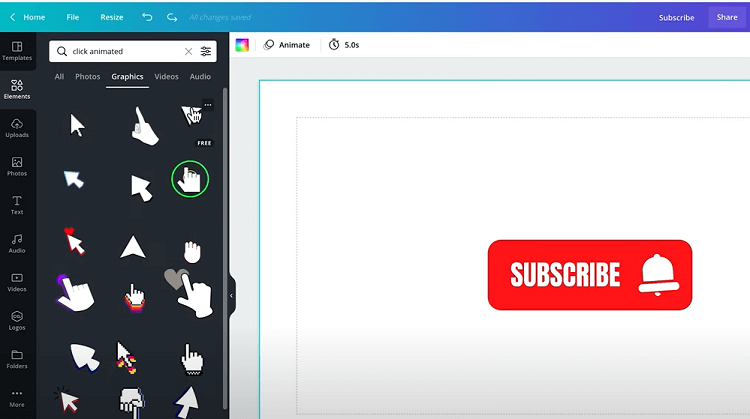
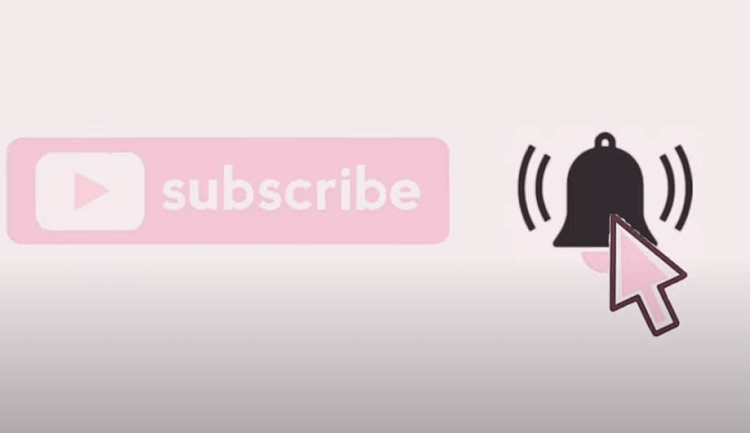
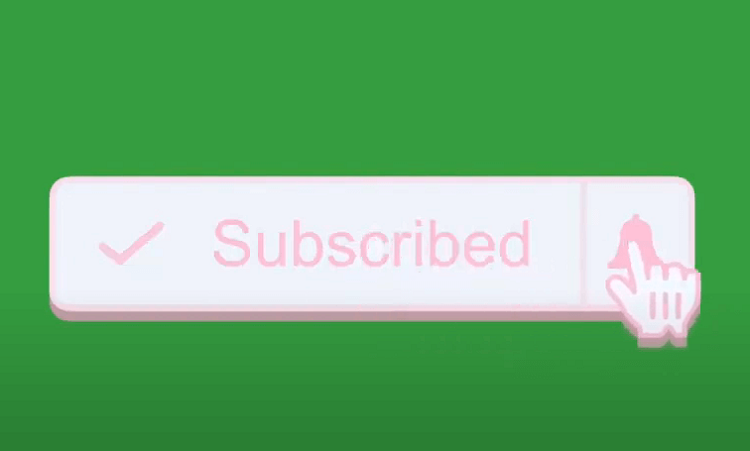
Your animation could be anything you want.
Perhaps you want to have a little cursor click the button, or just want your button to sparkle.
Step 1: Find or Create a GIF
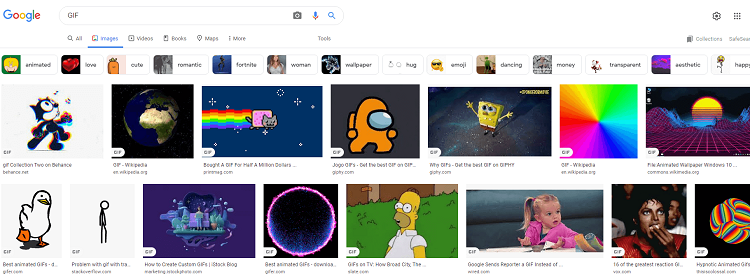
If you’re not sure what you’d like your animated button to do, there is plenty of inspiration on Google or GIF-specific websites like Giphy.
There are also a number of sites where you’ll be able to create your own animation that can then be used on your YouTube channel.
Note: As mentioned above, YouTube only accepts image formats and GIFs.
Therefore, if you’re creating your own animation, make sure to save the file in GIF form, rather than MP4 or MOV .
Step 2: Customize the Channel
Head to your YouTube Channel and select Customize Channel.
Step 3: Add a Watermark
Again, in the branding tab, you’ll see the option to ‘Add a Watermark’.
Click Upload.
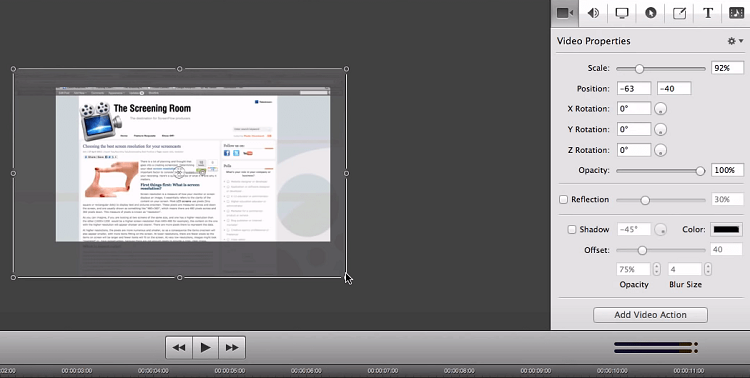
Step 4: Upload Your GIF
Select your newly created or downloaded gif from your desktop and upload it.
You can adjust when the button appears and for how long your videos are.
If you want to make your own, you’ll need an image creation tool like Adobe Photoshop.
There are plenty of free, online alternatives such as Adobe Spark, Canva, or Pixlr.
Once you’ve chosen your program, follow these steps:
Step 1: Set the Canvas Size
Youtube likes watermarks to be no larger than 150 x 150 pixels.
Alternatively, you can create a differently shaped button, so long as the size doesn’t go over 150 pixels.
Setting the canvas size before you get started will help you see exactly how the button will look on your video.
Step 2: Choose Your Background Colour
If you’re wanting a simple button, you might want to just fill in the background in a pink shade that you like.
Alternatively, use the shape tool to create your button, then fill this in with pink.
Step 3: Add Your Text
Step 4: Save
Once you’ve chosen the shape, color, font, and size of your button, you can then save the finished piece.
Make sure to save your button at the correct size in JPEG, PNG, or BMP form.
If your button isn’t a square, but you have kept your canvas size at 150 x 150 pixels, save it as PNG.
That way, when your button is uploaded, the background will be transparent.
Vippng.com
FreePNGlogos.com
Pngaaa.com
Clipartcraft
Wallpapersalligator
Slovakiahoster
Factshoutpic
Transparentpng
CityPNG
Bing
Tenor
Gyfcat
30+ Stunning Zillow Stats [Facts, and Trends] this 2024
How to See Liked Videos on TikTok 2024 [Best Ways]
325 Delightfully Positive Words that Start with D [2023]
